
 01
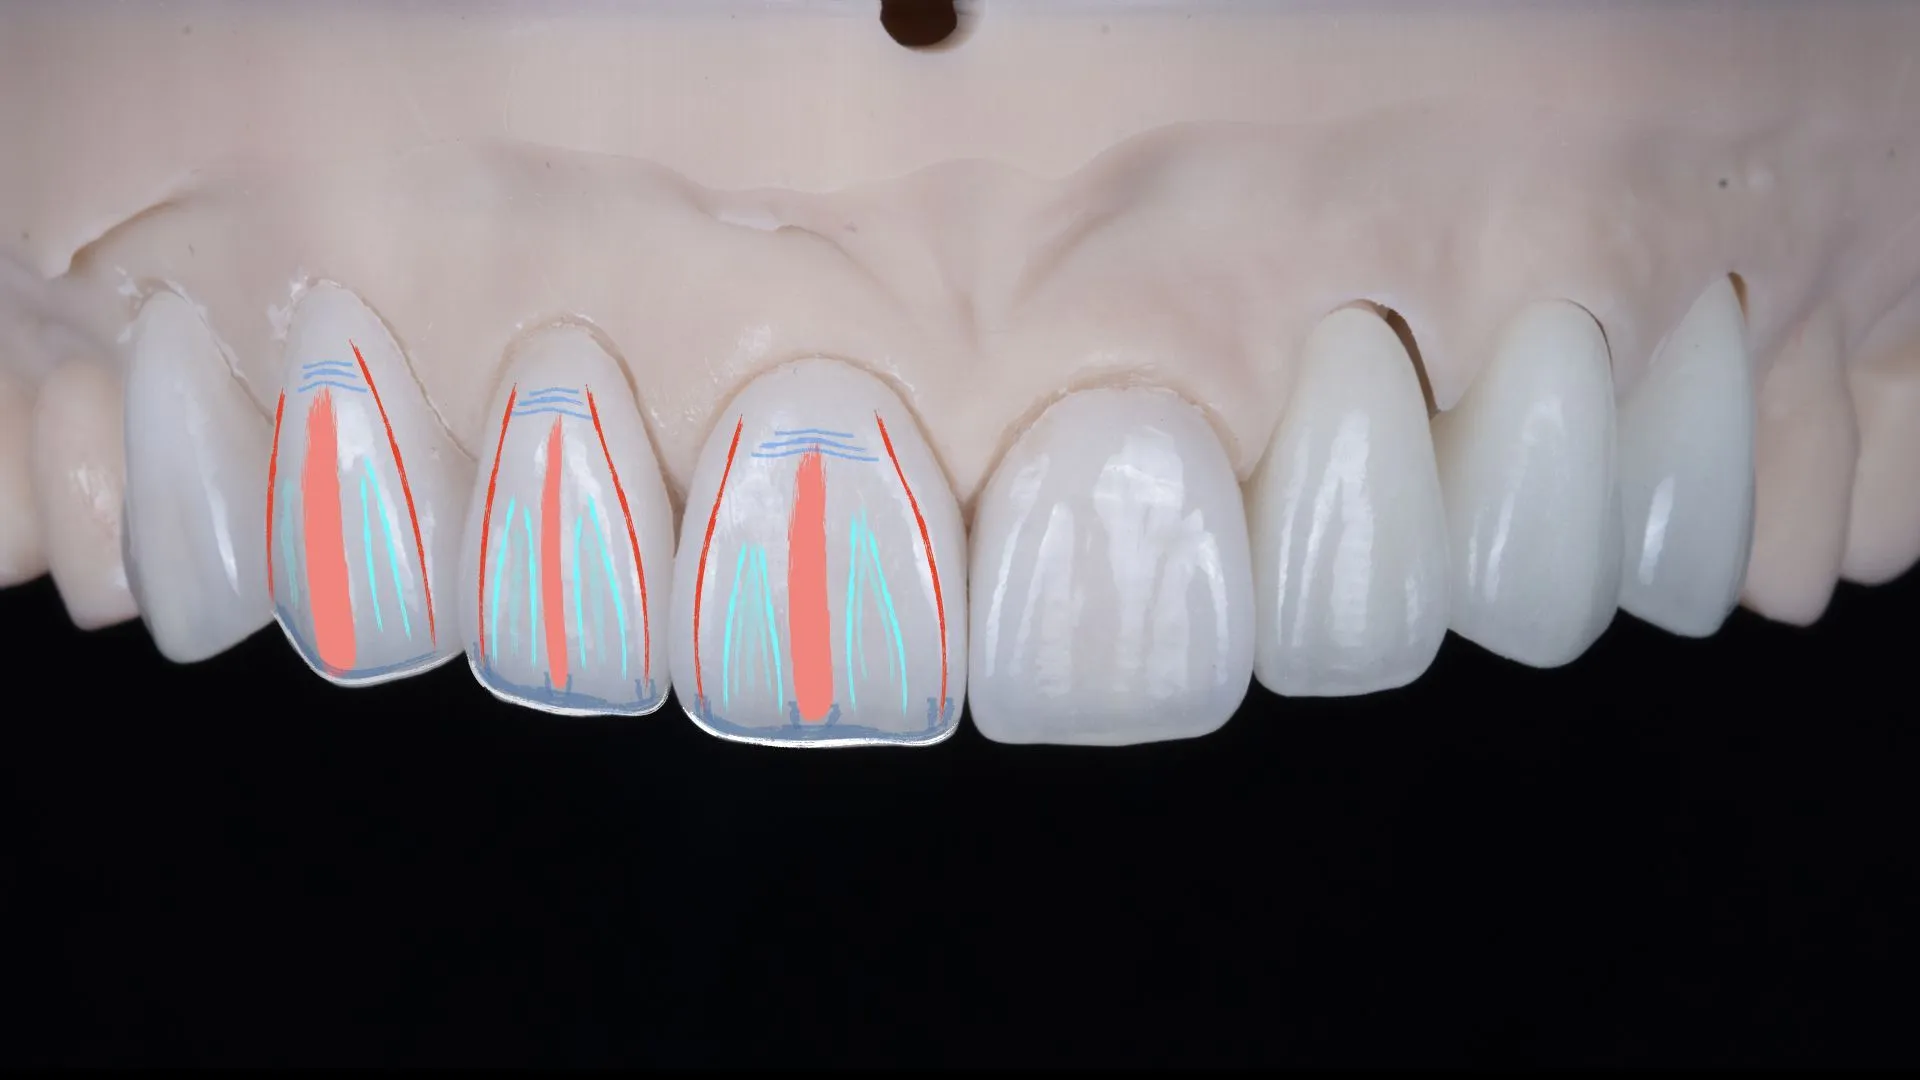
01 Line angles
The ridges that define a tooth’s overall form. Refining form alone can transform an impression.
Dental Design Know-How
Changing the shape of a tooth is only the beginning. Its texture and translucency must survive the redesign — that is what makes a veneer suit your face and feel like your own tooth.
 PORCELAIN VENEER
 Dental Design
The line where gum meets tooth, the grain of the surface, the clear translucency at the edge — dental design means observing what natural teeth do and building it into the plan. A seamless gumline without black triangles, and that clarity at the edge, is anti-aging for teeth.
Three Elements
We design and judge every case against three criteria.
01 The ridges that define a tooth’s overall form. Refining form alone can transform an impression.
 02
02 The fine grain of a natural tooth surface. When the grain lives, nothing looks artificial.
 03
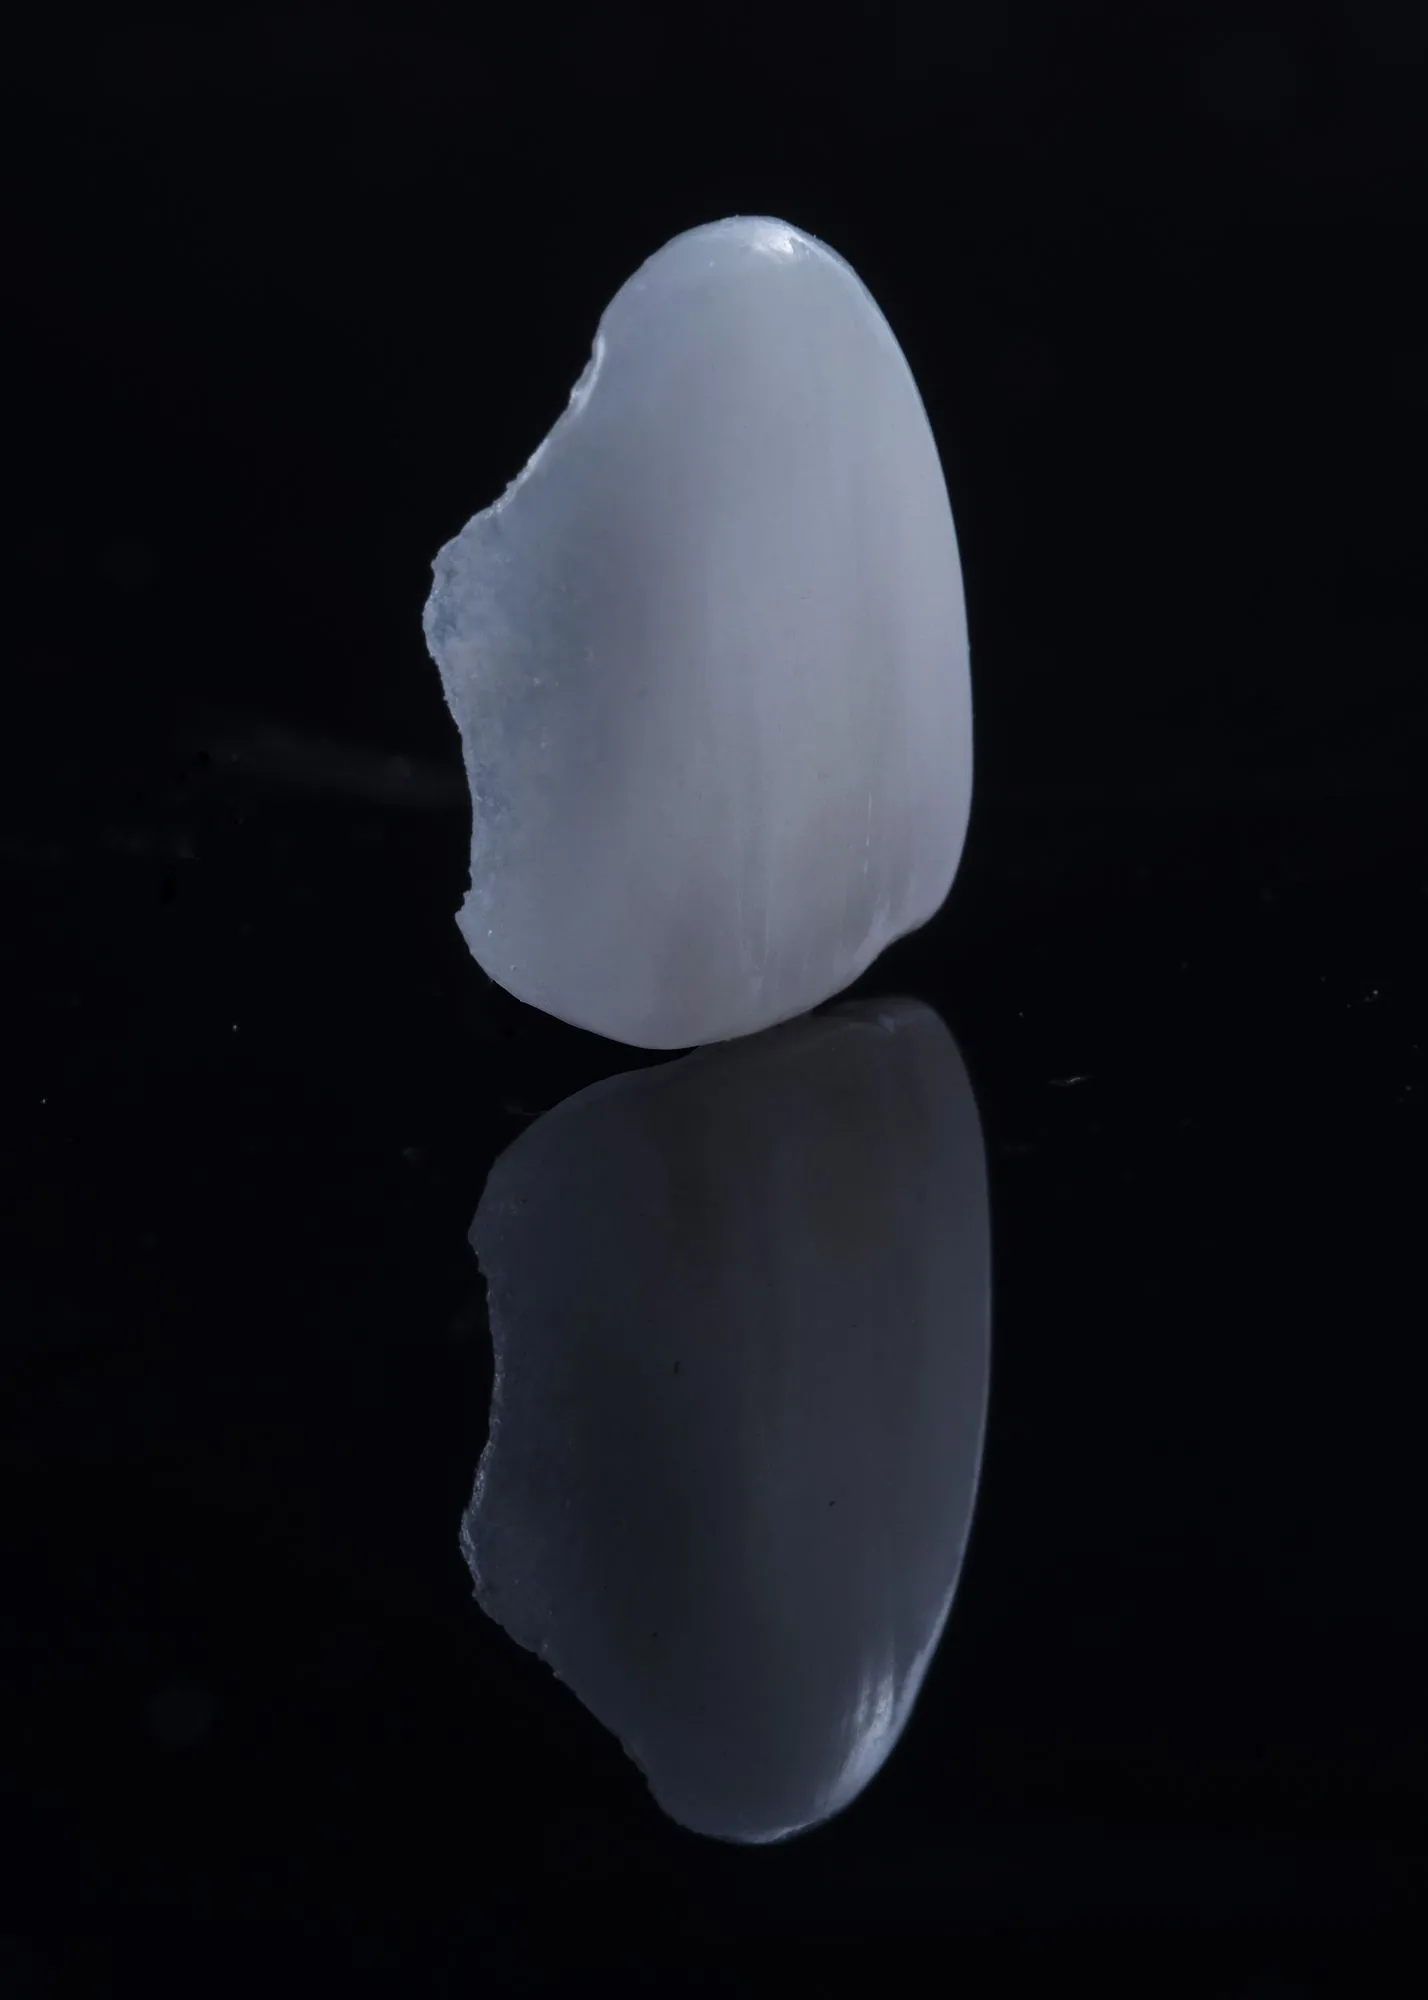
03 The clear edge is the heart of naturalness — it takes minimal reduction and precise fabrication to achieve.
BEFORE / AFTER
Real veneer cases treated by Dr. Park Jonguk at Dream Dental Clinic, Gangnam. Tap a photo to compare before and after up close.
The before-and-after photos above are real clinical cases treated at Dream Dental Clinic, Gangnam (Dr. Park Jonguk). Results vary with each patient’s condition, and every procedure carries the possibility of individual variation and side effects.
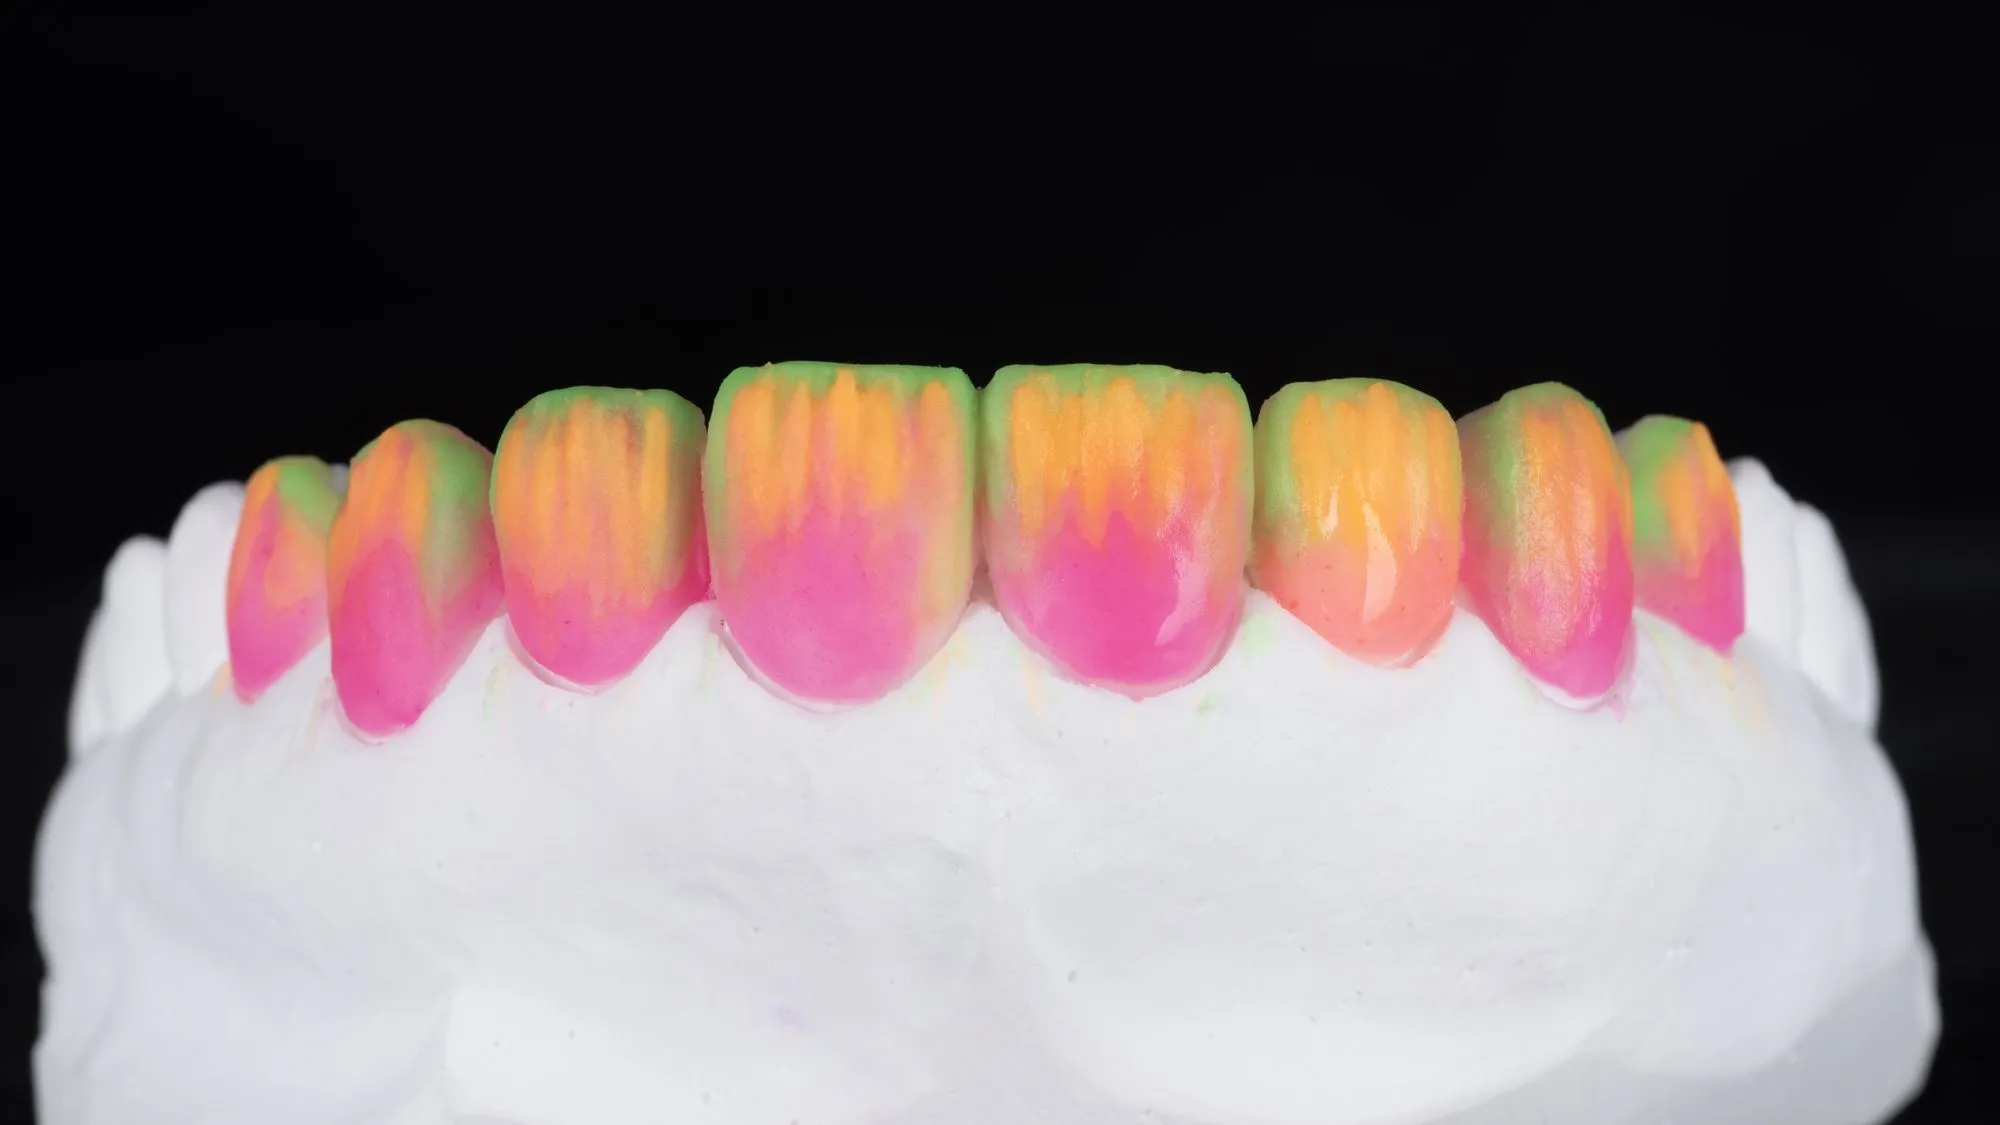
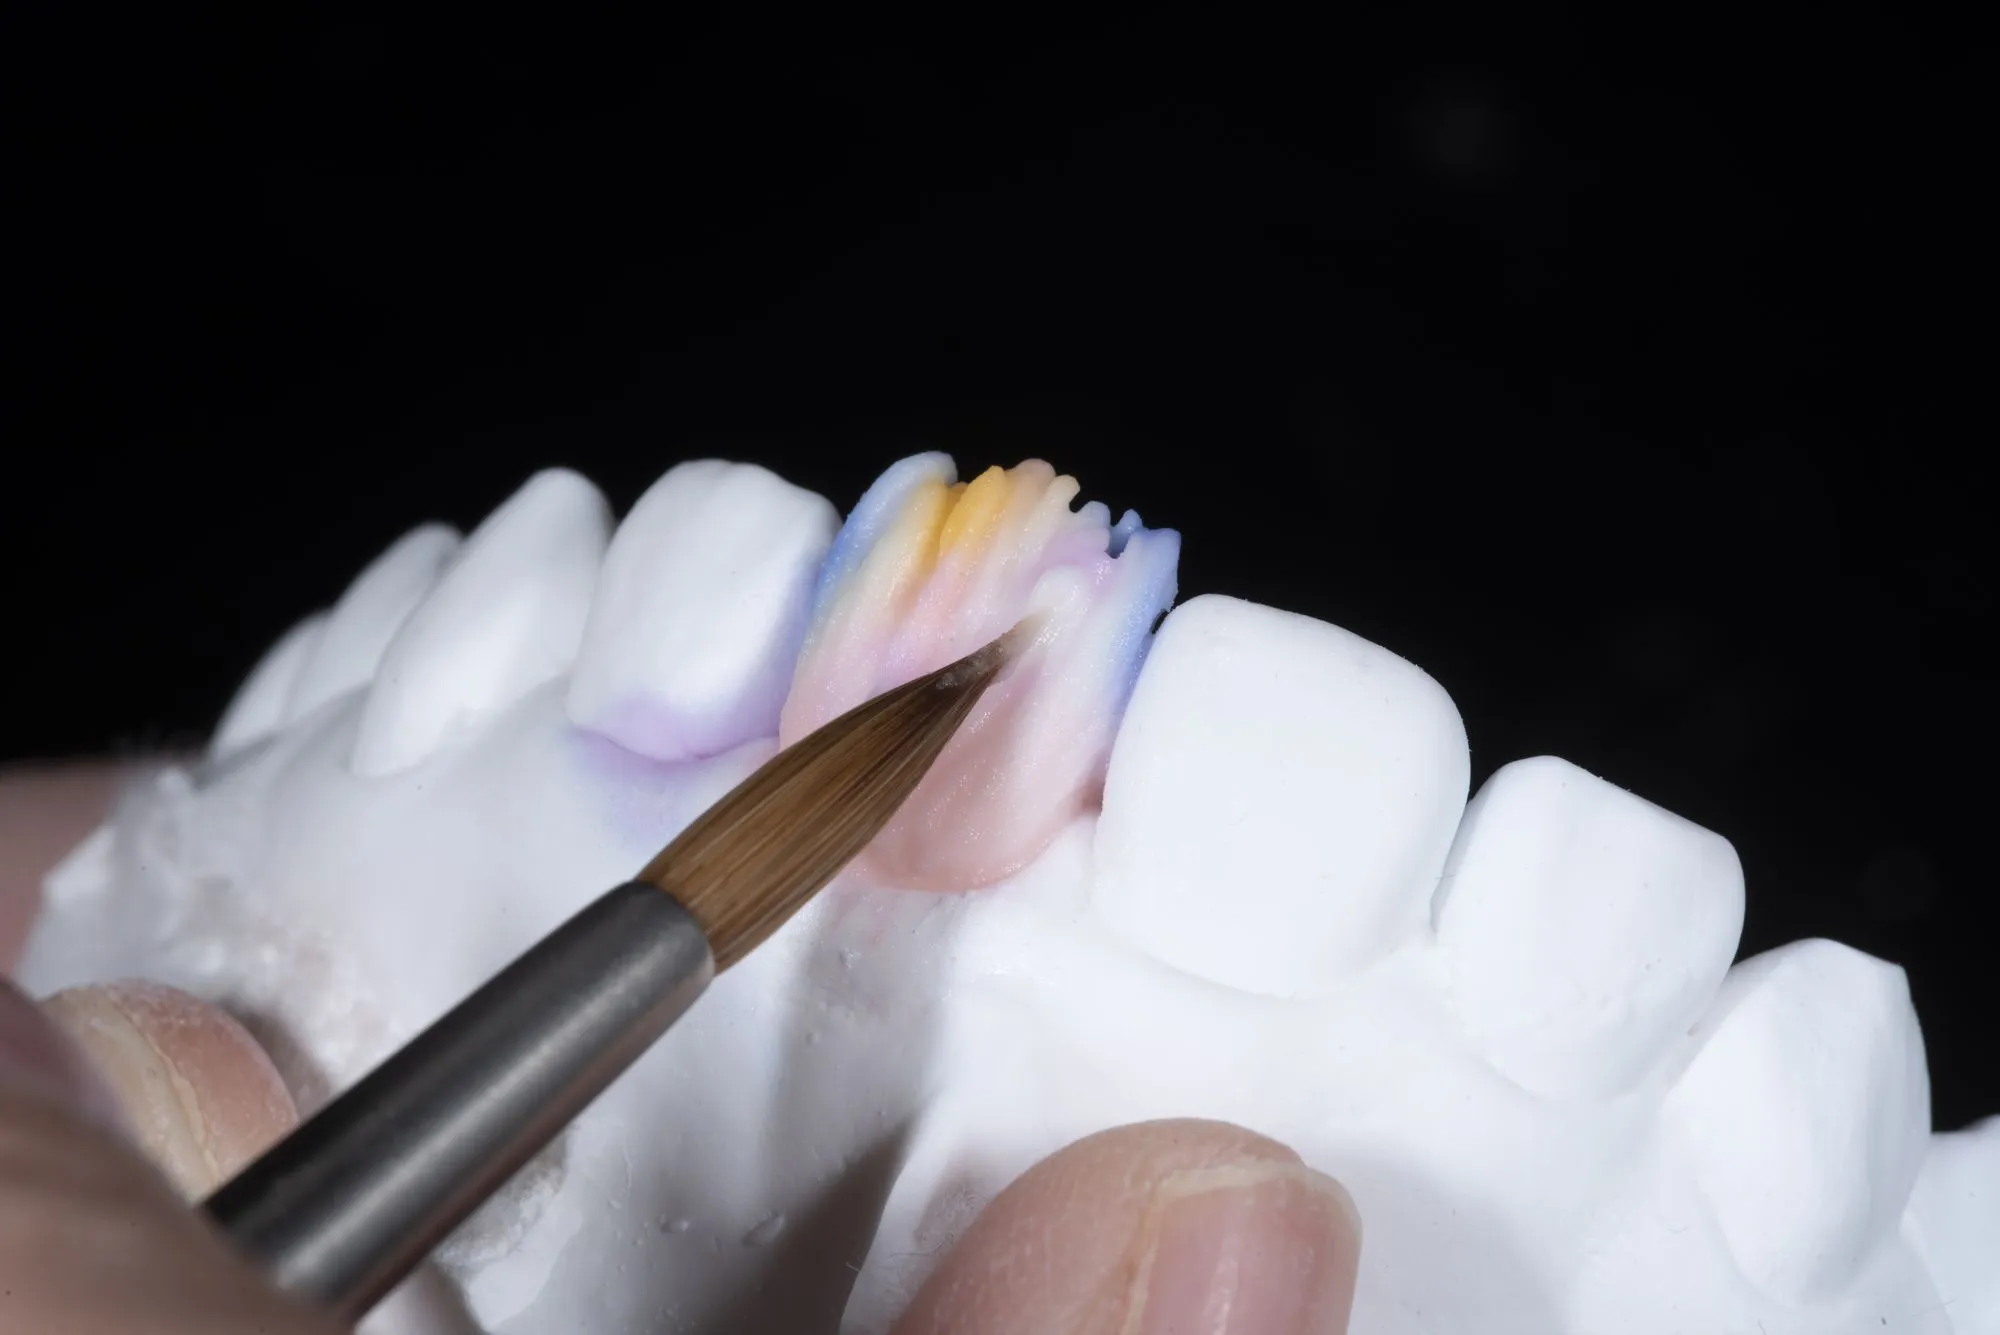
The varied hues, translucency, and natural surface of a real tooth are hard to reproduce from a single monochrome block. Layer by layer, built as thin as possible — that is how the aurora-like translucency comes alive.
Double Check
Not on a 3D screen — on something you can hold.
A wax-up on a plaster model of your own teeth shows directly whether and how much reduction is needed — which helps keep it to a minimum.
Details are refined once more on the temporary veneers: a step for solid bonding and a truly your-own look.
A veneer-specific prep kit and a microscope that resolves 0.1mm differences keep the work exactly on plan.
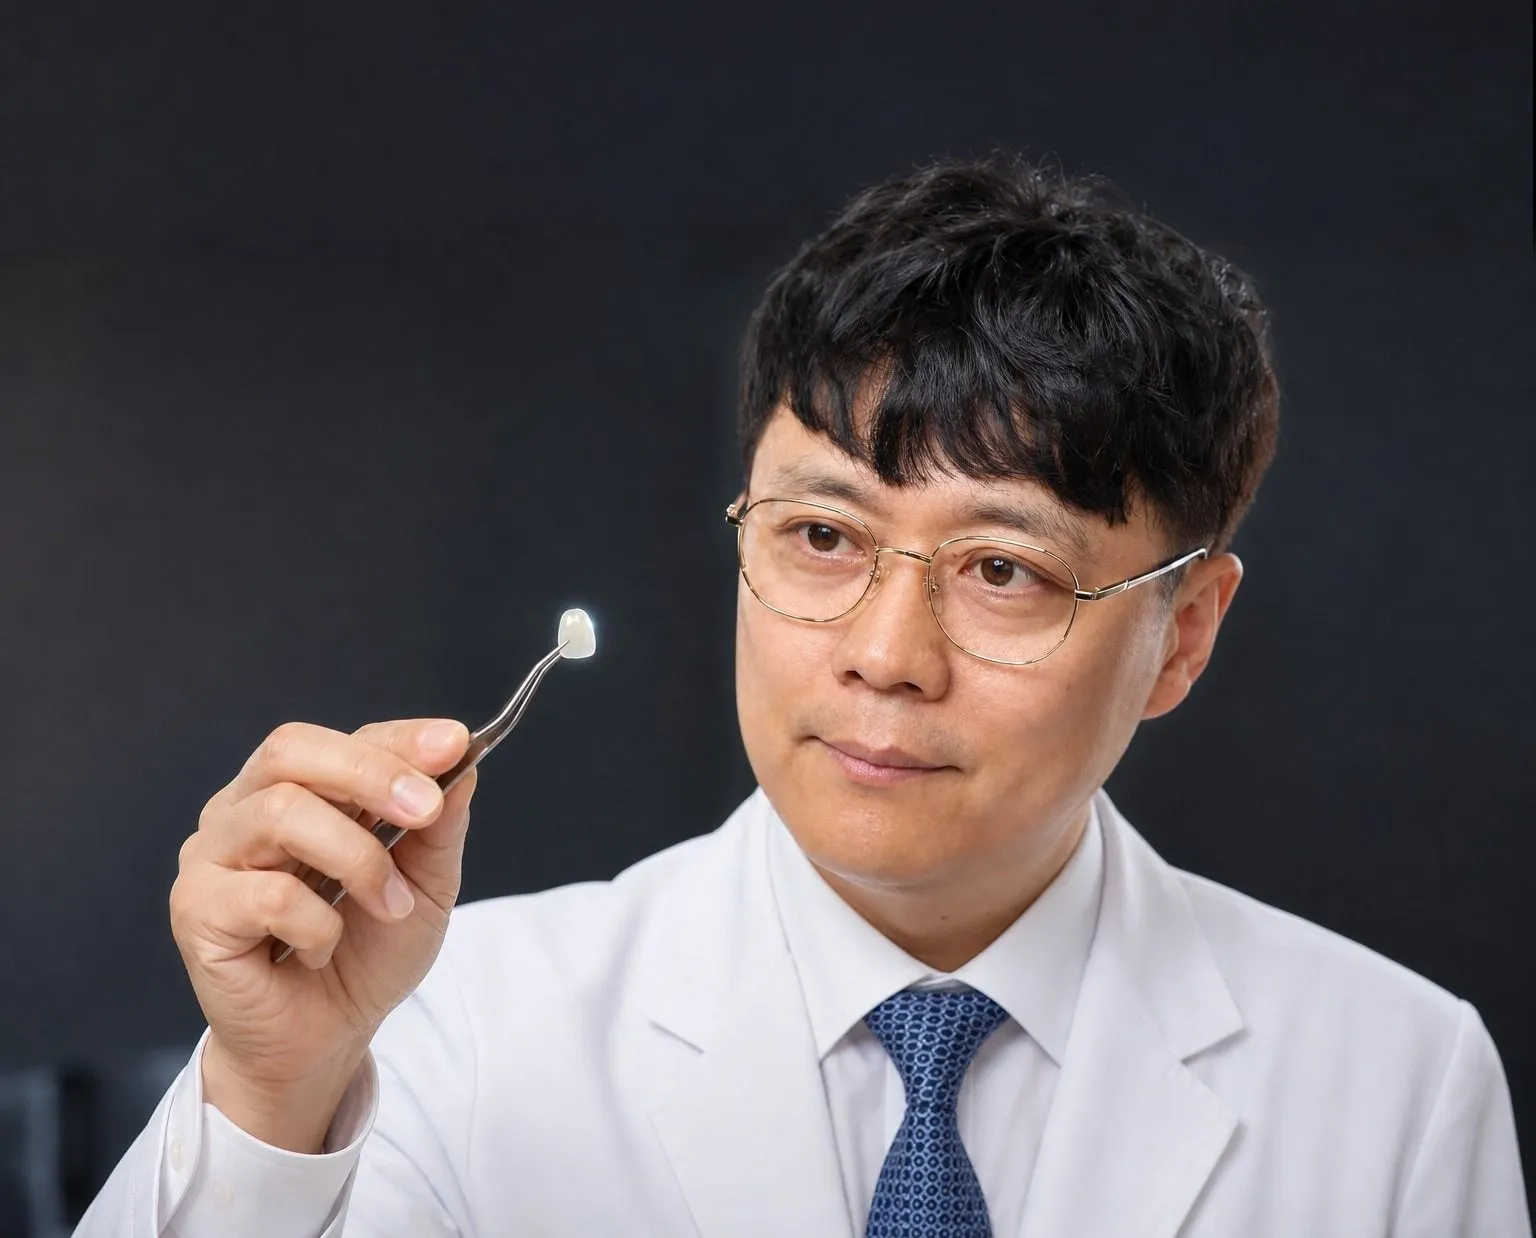
Dedicated Prep Kit
Commissioned from DIATECH and made to Dr. Park Jonguk’s design, this dedicated veneer bur kit is engraved “Dr. PARK JONGUK LAMINATE VENEER PREP KIT.” It standardizes the preparation tools to keep reduction consistently within the planned amount.
Feldspathic Porcelain
Feldspathic ceramic is demanding to work with. But among porcelains it can be fabricated down to 0.1mm and comes closest to the esthetics of natural teeth — which is why we chose it.
Platinum Foil Process
A 0.1mm veneer is layered and fired on platinum foil — a traditional, fully manual process.
Full model
A model reproducing even the gum contours captures the tooth-gum relationship exactly.
Platinum foil forming
Each tooth is wrapped in thin platinum foil — the base for ultra-thin layering.
Layering
The tooth form is built up layer by layer, shaped to meet the gum naturally.
Design refinement
Overall lines and per-tooth angles are trimmed into their final design.
Firing
Fired in a high-temperature kiln until it hardens like porcelain ware.
Finish
Translucency and color come alive — finished close to the feel of a natural tooth.
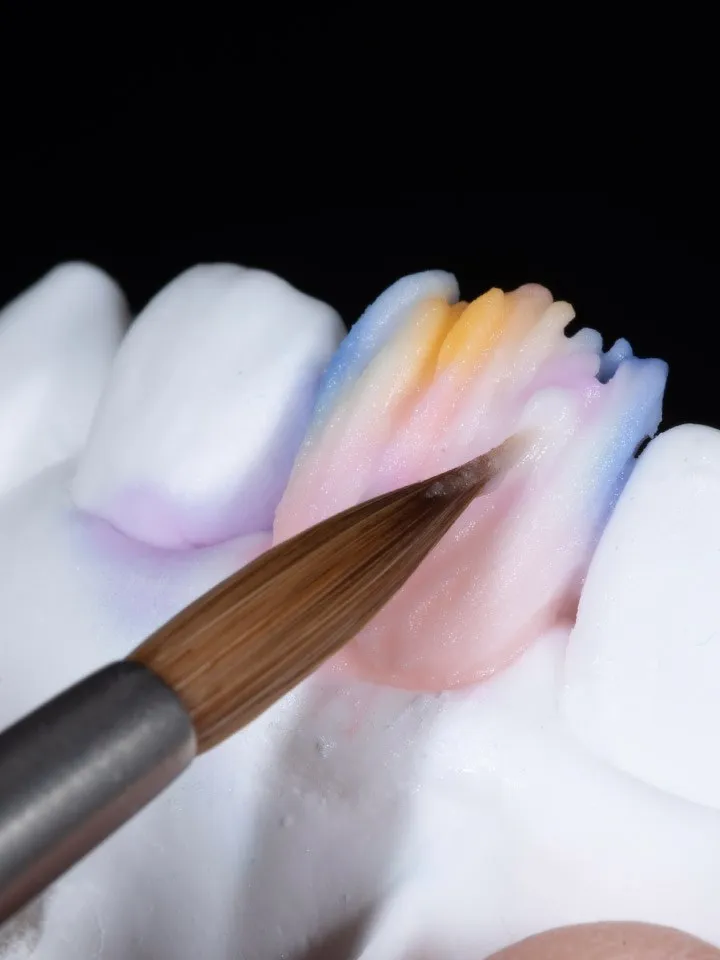
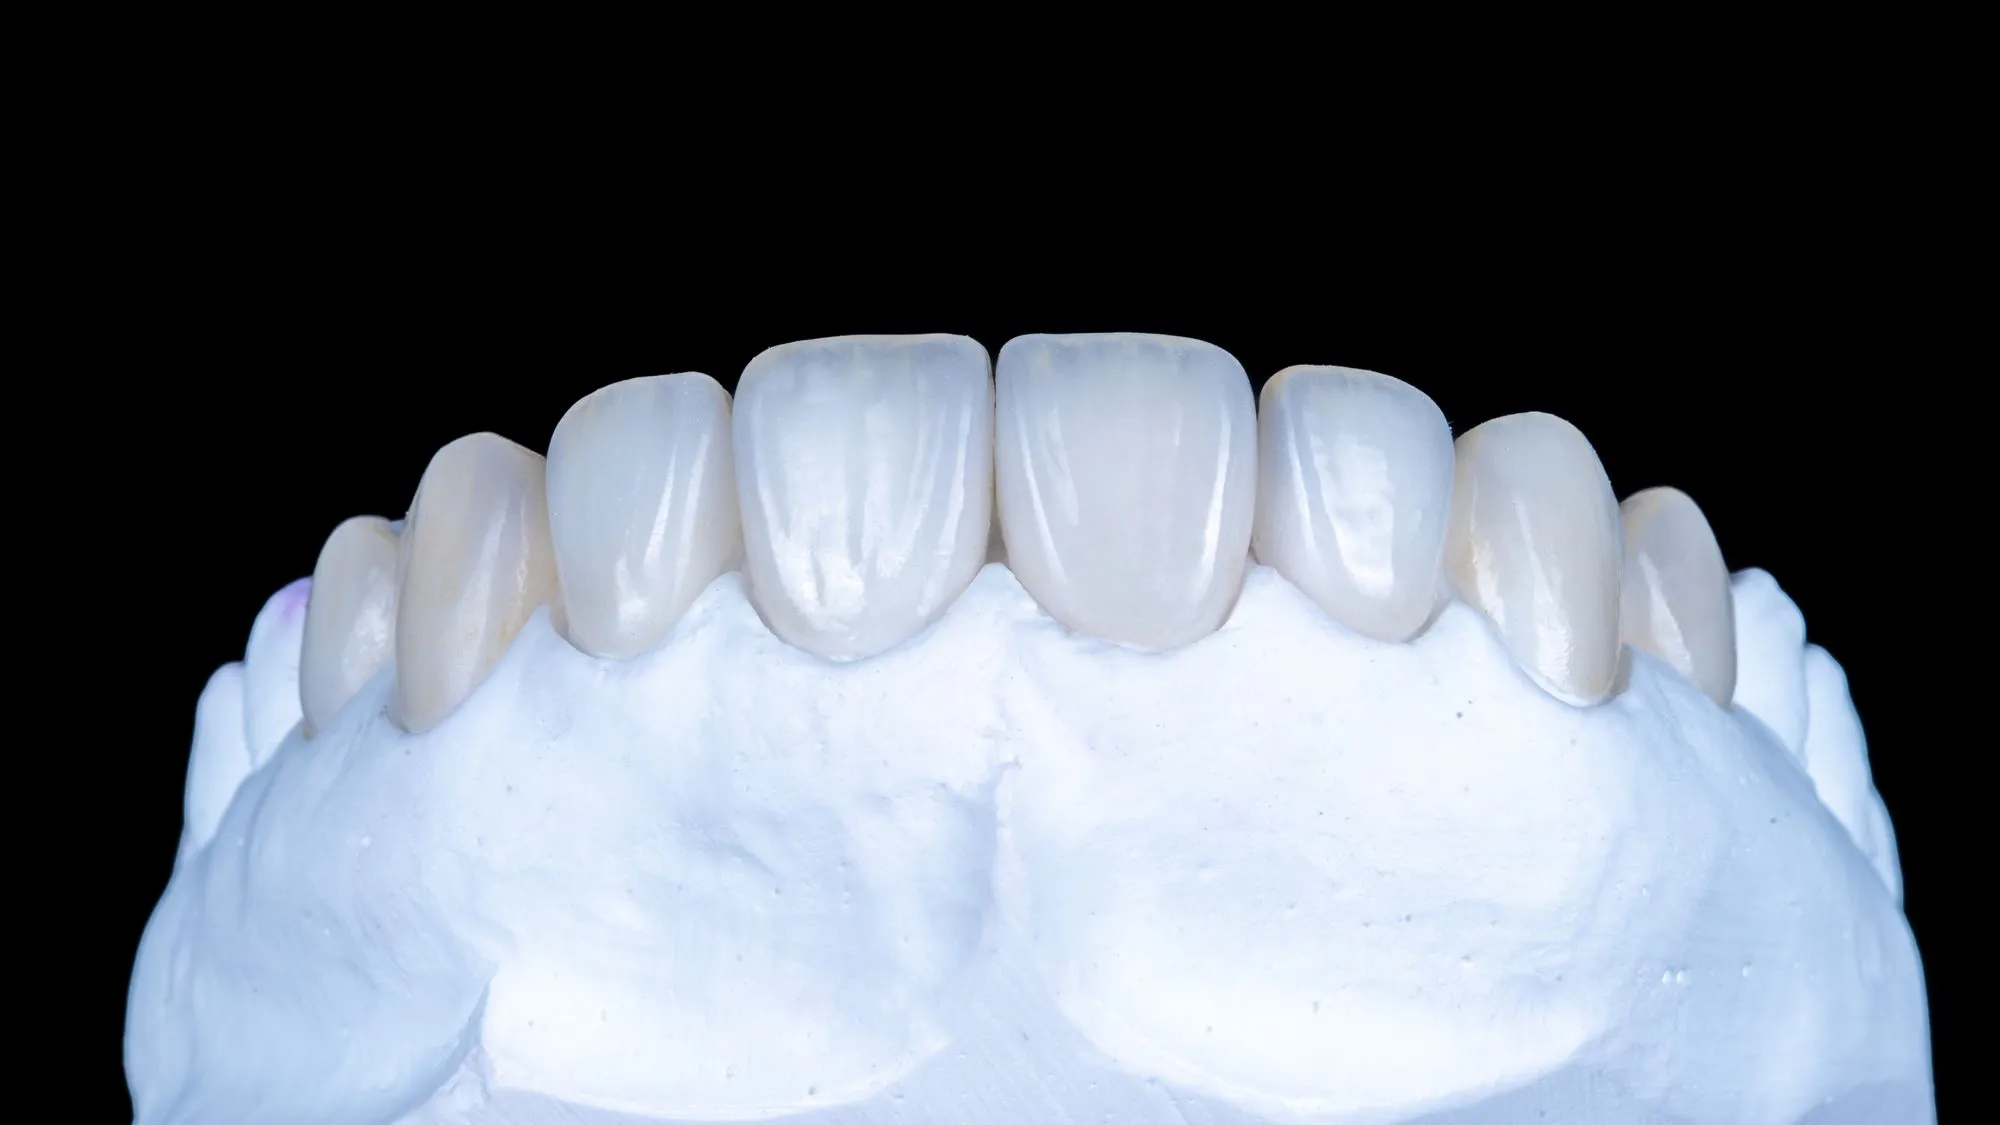
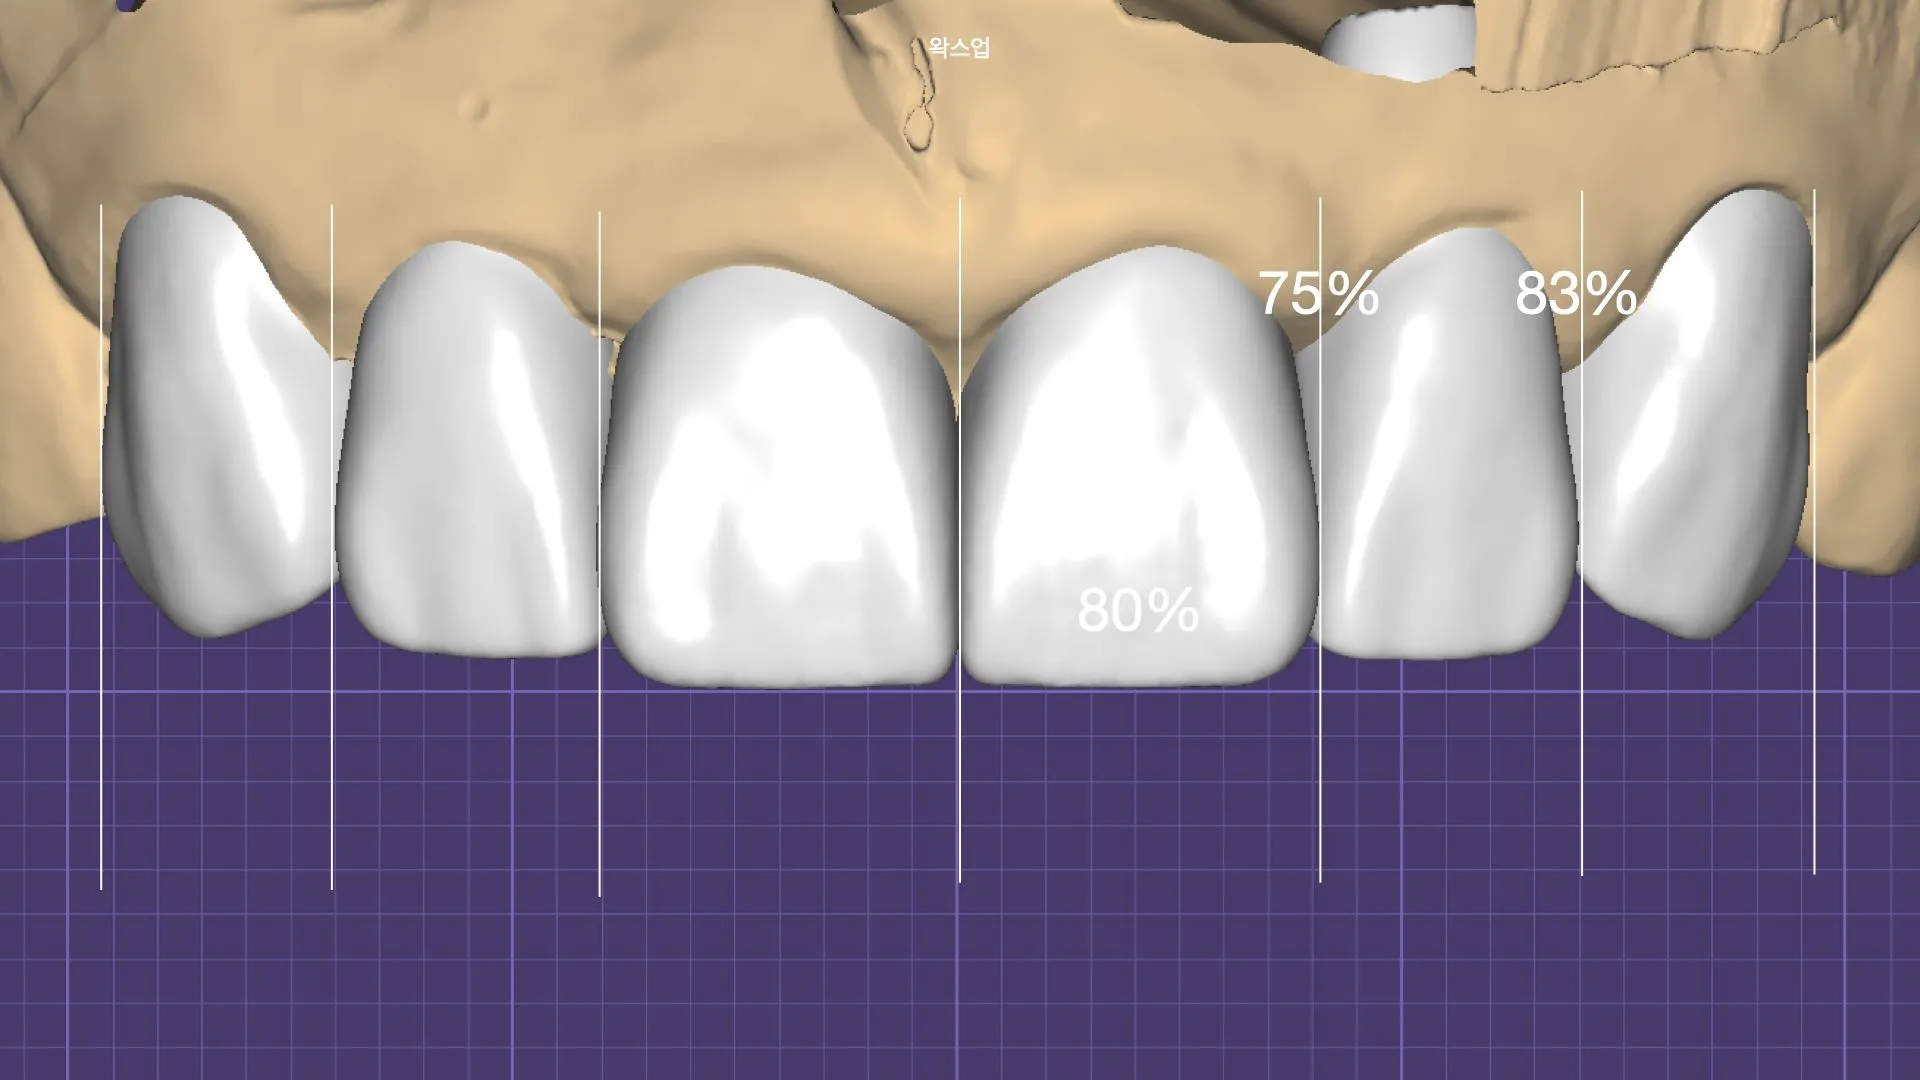
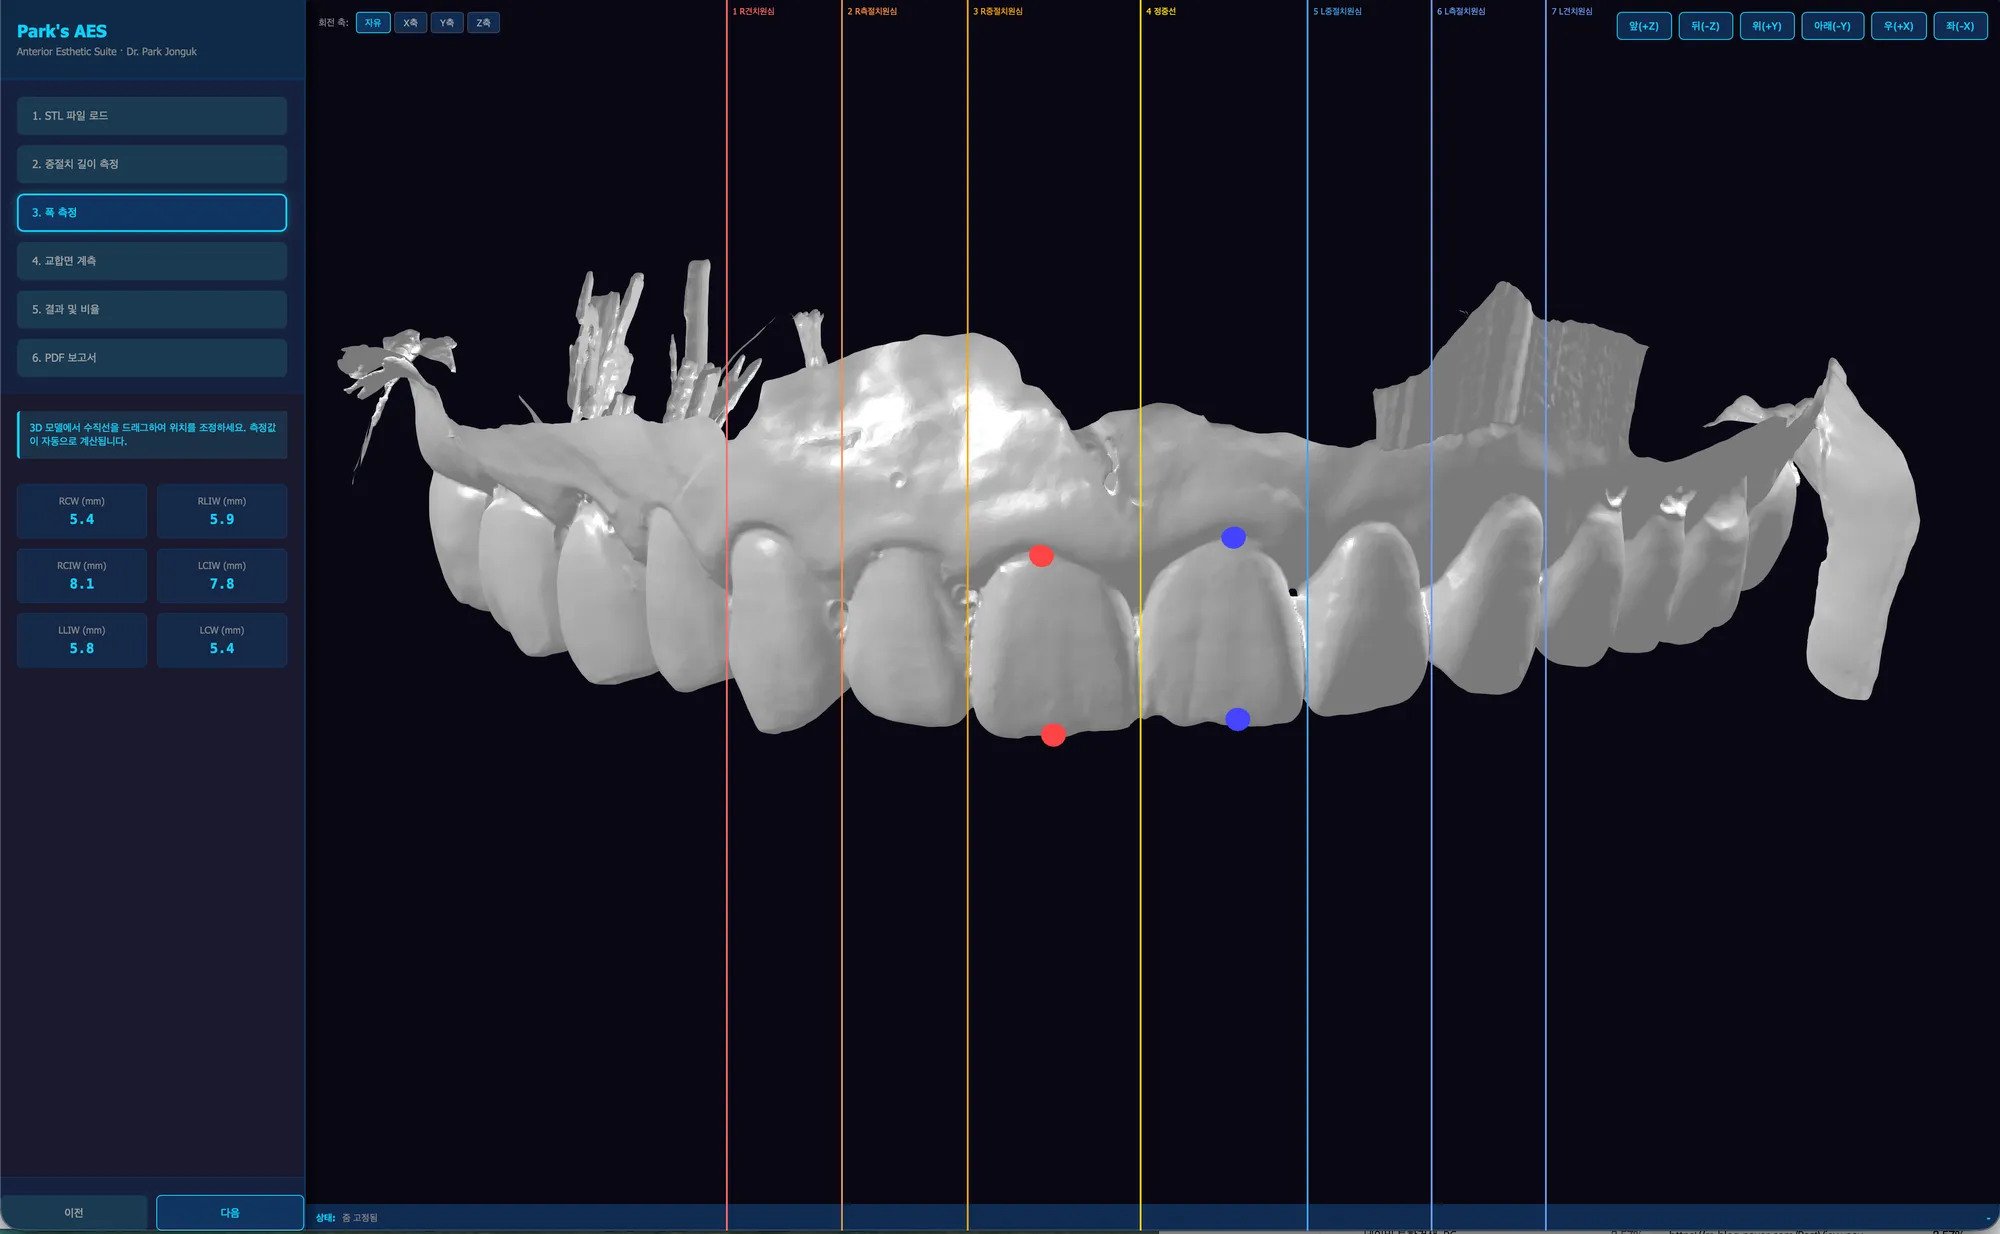
The width ratio of natural front teeth — 1.4 : 1 : 0.65. Beauty has evidence behind it, and we build our designs on the studied proportions and optics of natural teeth.
Quick Consult
Leave your number and we will call you back during clinic hours.
Request Received
We will contact you during clinic hours. For urgent matters, please call +82-2-3448-0028.
The available range depends on your condition. Feel free to ask us.
FAQ
Three: line angle, surface texture, and translucency at the incisal edge. We also measure the natural width ratio of the upper front teeth, 1.4 : 1 : 0.65, and fit it to your face and the way you smile. The design is measured, not chosen by taste.
You check it twice. First a wax-up on a plaster model of your own teeth shows whether any reduction is needed and how much. Then the details are refined on the temporary restorations. You see a physical object in your hand, not a 3D image on a screen.
The smile line includes the gum line. If the line where teeth meet gums is uneven, or if the gums show widely in a gummy smile, changing only the ceramic shape will not produce the proportion you want. In that case the gum line is corrected first, and the tooth shape is designed on the stable line.
Dr. Park Jonguk designs it himself. He is a conservative dentistry specialist certified by the Ministry of Health and Welfare and has practised since opening in 2006, personally handling diagnosis, shade, form and bonding. The criteria for reduction and form are set out in his clinical textbook on veneers (Daehan Narae, 2025).
Half of the lifespan is decided by bonding and occlusal design, the other half by daily habits. Biting force concentrated on one tooth causes fractures, so the occlusion is checked and adjusted after bonding. Veneers with sound bonding and occlusal design are often used for more than ten years. Tell us if you grind your teeth: we change the occlusal design and plan a night guard alongside.
This page is general information about the treatment. Diagnosis, treatment options, and duration vary by individual condition — an in-person examination is how we plan your actual care.
Articles
How the same topic is judged chairside, written up with real cases.
Shape, texture, and translucency — designed together. Reception until 5:30 pm weekdays, 12:30 pm Saturdays.